Sunday, March 17, 2013

Brevard Rd Bathroom

After Christmas we started a basement bathroom renovation. These folks have their elderly mother moving in and needed to make some better accommodations. We widened the bathroom to allow for a wheelchair to enter. We also ripped out an old, small tub and replaced it with a custom tile shower with grab bars. Having  a low curb will allow for easy entry into the shower. To expand the bathroom, we had to demo and bump into the kitchenette.  Once we started taking the cabinets apart, we noticed they were built on site and could not be removed and re-installed. Not shown in any pictures is the bath fan we added as well as a bedroom bi-fold closet with wire shelf system.

Here are the new cabinets.


Below is our custom subway tile shower with grabs bars.


New Vanity. You can see the bump in the wall near the towel bar. That is how tiny the old bathroom was.


New, taller toilet and new floor tile.


A view of the new bathroom/ kitchen wall. We bumped this over a little over 2 feet.


Demo in the kitchen


Moving the kitchen wall over.
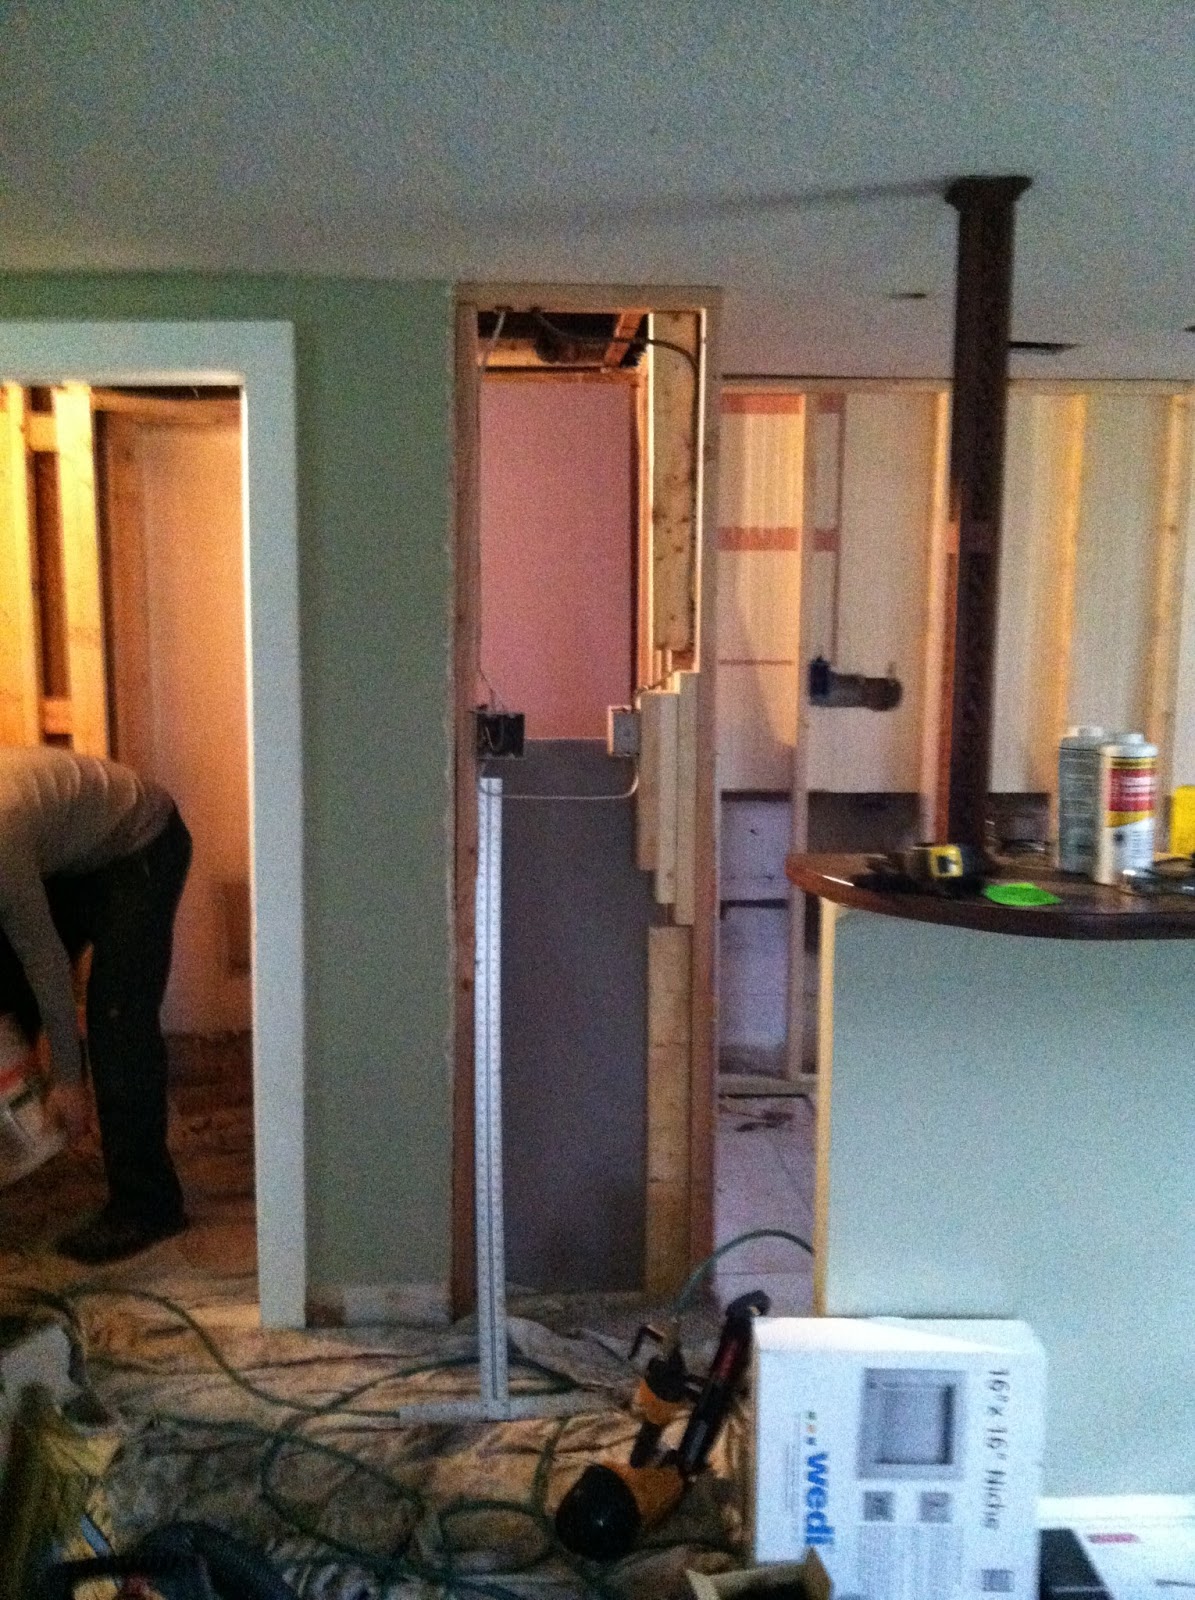

This is the original configuration. The old sink and base cabinet were removed to allow us to move the bathroom wall over.


Read more...

Saturday, December 15, 2012

Gravity Fed Dehumidifier

This basement has a dehumidifier that had to consantly be emptied. I decided to build a platform above some roughed in plumbing. Now the dehu can gravity drain into the waste line and never need to be emptied again.


The original Rough In Plumbing.
 
The lonely unit that needed to have the bucket emptied when full.
 

Read more...

Screen Door/ Screen Porch

We have been doing all kinds of projects for these folks over the last 2 years. They have an older bungalow and are constantly fixing the place up. For this project, they wanted to screen in the front porch to keep out the bugs. After some different ideas, they decided to take down the old rod iron railing and corrugated roof and start new. They had seen some pictures of a screen porch using screen doors as the frame and railing of the screens. It worked out great.
 

Here is the finished product above. The screen doors are only primed and the screens are currently out of the doors. I will post more pics as the homeonwers decide on additional colors for the doors.


The rafters are exposed with an exposed
bead board ceiling.


Here is the only current operating door.


A view of the bead board and skylight.


Here are some exposed rafter details.


Here is the original rod iron post and metal roof. This type of porch roof is super common in the area. Structurally, they cannot even hold a person on the roof.


Read more...

Monday, November 12, 2012

Waynesville Deltec

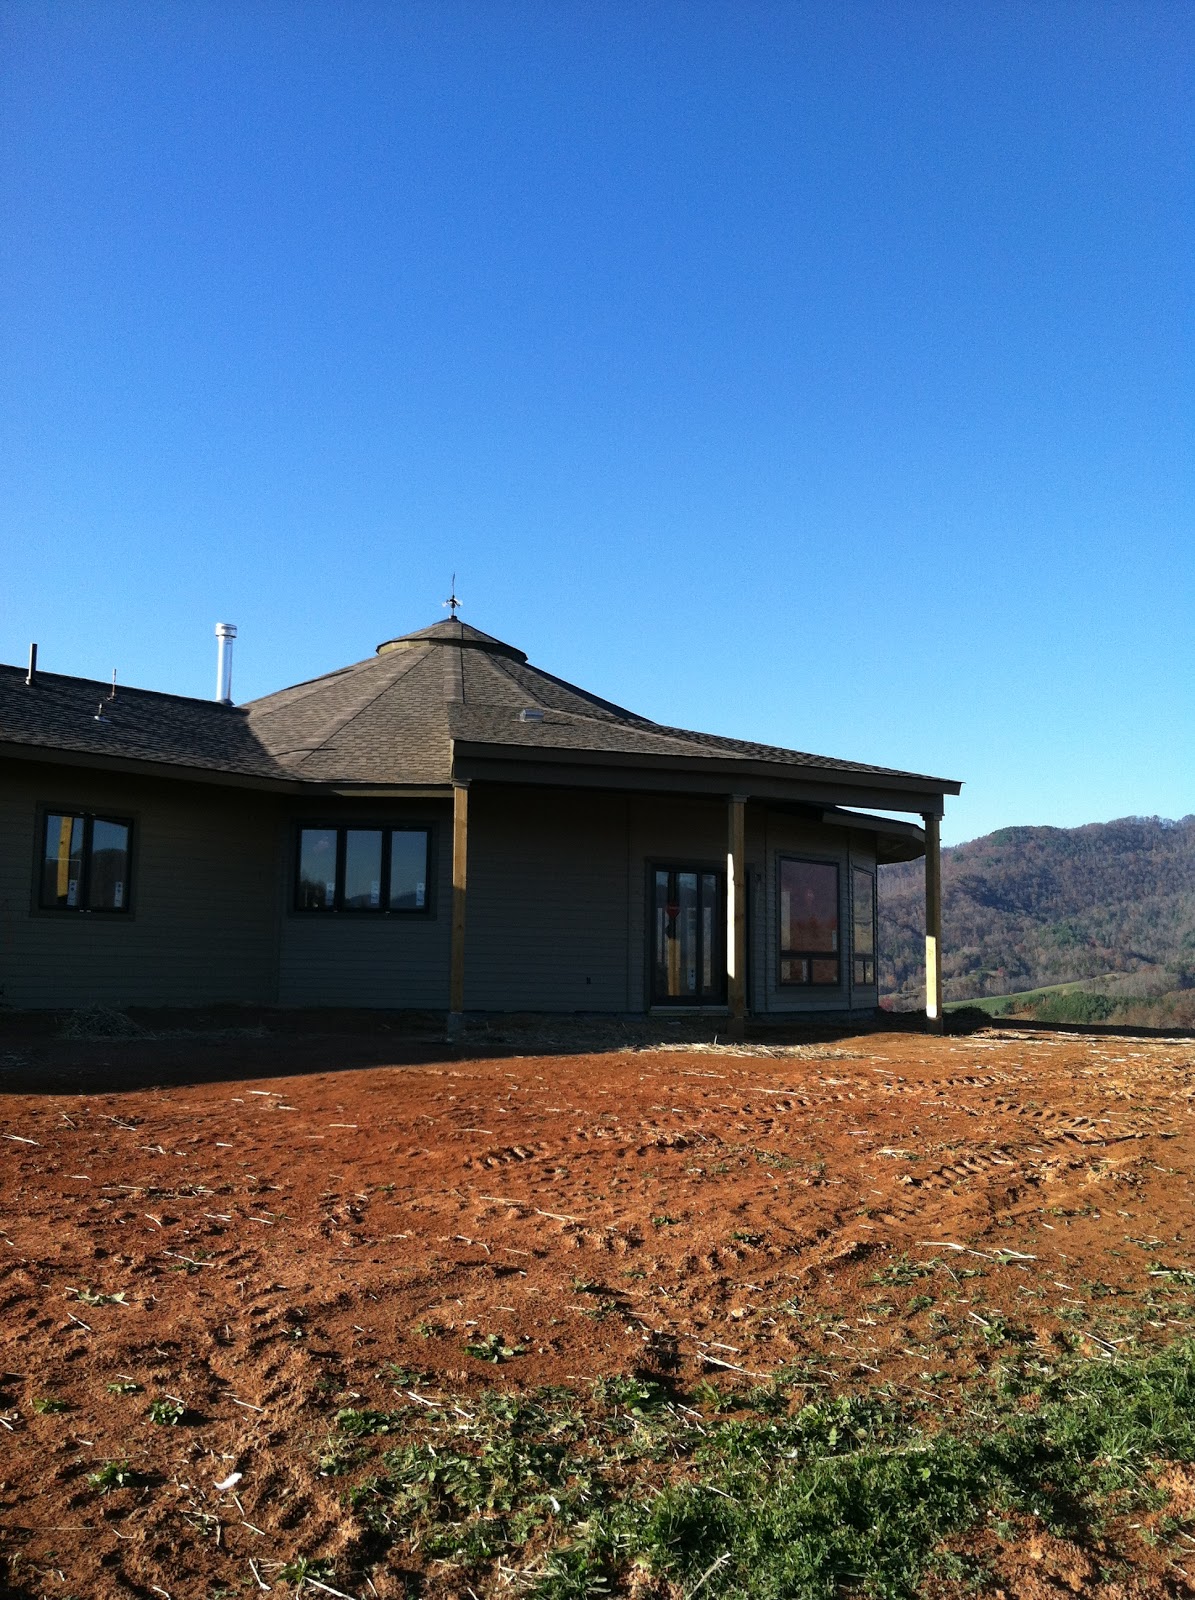
This is one of the greatest job sites I have been able to work on. Surrounded by mountains in all directions, yet on a flat lot. We really enjoyed our time outside of Waynesville. In 35 days, we had all the framing and siding finished. Inside the subs were all roughed in and the insulation was wrapping up. 


Here is the view from the back porch.


Here is the back of the house.


Kitchen


Interior wall framing.


We framed interior walls for about 2 hours. We had the chop saw inside and nail guns blasting. I looked over and we saw this guy sleeping on a top plate. He slept all day. Luckily he found his way out over the weekend and we never saw him again.


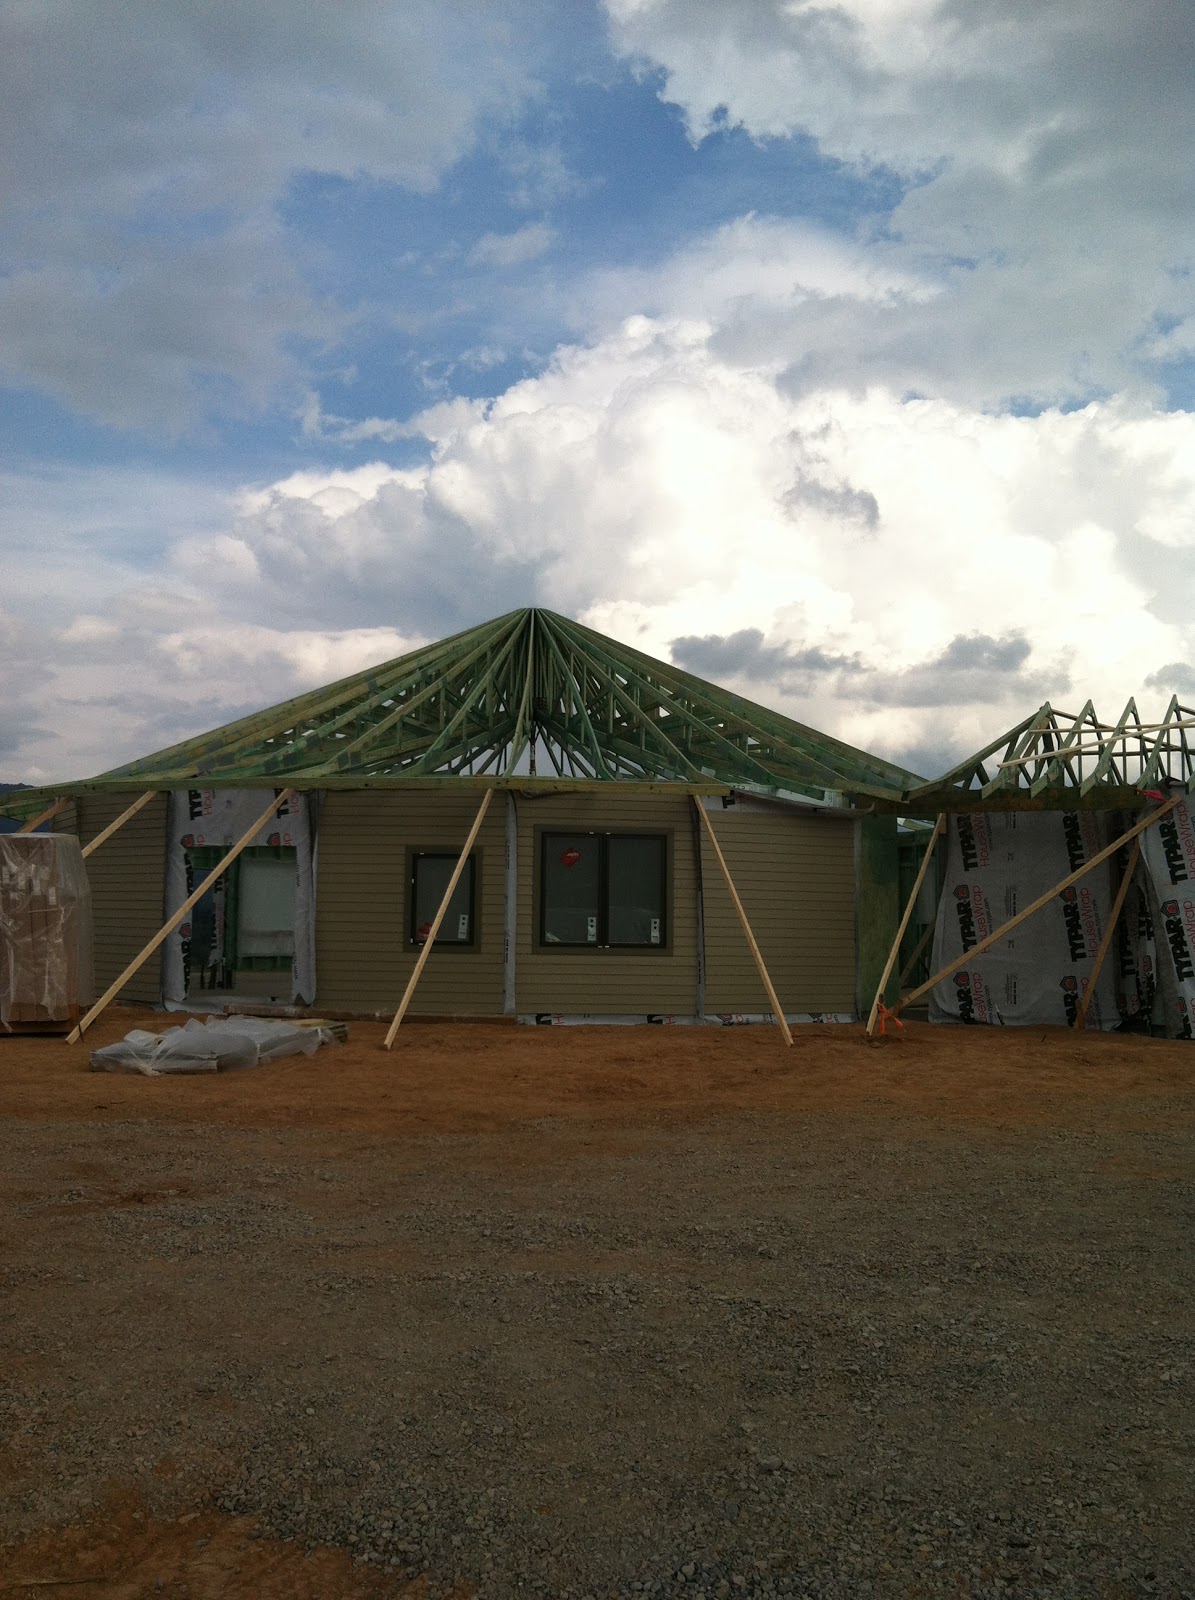
Here we are wrapping up the last bit of the roof framing. This is our 10th day. The roofers were laying shingles as we were wrapping up.


We were running the roof sheathing on the 6th day. It is amazing how fast these can go together. 


Day 5 we set all the Deltec roof trusses. This is a 5 man job, hoisting the trusses onto the top plate at the exterior wall and up a scaffolding at the center. This is the most physically grueling day we have on a Deltec.


Here is the 4th day. We set the garage trusses by hand.


This is the garage side at the end of day 3.


This is our 3rd day. Crane day is always a hectic one. We set all 22 round panels, put the trusses inside the house and set the erection jig. 


Here is our 1st day. We unloaded panels and arranged the garage panels to set by hand.


Read more...

Tuesday, October 2, 2012

Decks and Rails

For this  project we helped Brookestone Builders with decking and handrails. This is the upper deck. We installed a hog wire railing.


Nice view.


The top deck had a membrane to keep the deck below it dry. This roof was sloped to pitch the water away from the house. We then went back with sleepers that were tapered to allow the decking to be level. We installed these in 4 foot sections to allow for the deck to be removed easily if roof repairs are needed.


This is the membrane that was installed before we arrived.


Here is the front door. We wrapped the posts and installed the hog wire railing here as well.


Here is the lower deck. This had subfloor on the deck joists. We waterproofed it, put down sleepers and installed 5/4 tongue and groove decking.


Sleepers on top of our membrane.


The advantech before we put the mule skin membrane down. 


Read more...

West Asheville Garage

This is the second project in a row for an architect friend. It is a West Asheville garage that sits behind a coffee shop. It is used as a storage garage and had been framed up but needed siding, skylights and a salvaged metal roof installed.

Here is the finished front soffit.


This is what the front looked like when we arrived.


Here is the side of the building. We installed horizontal sheets of corrugated metal  and fascia to match the coffee shop in front.


We installed 3 skylights and a salvaged metal roof over 3/4 inch furring strips.


 Here is the custom flashing kit for the skylights.


Read more...

Wilson Architects Office

Our friends at w2arch, recently moved into a historic tudor style home. They decided to design a new home office where their old single car garage had been. The tudor style is a split level floor plan. They wanted to utilize a bathroom on the main level near the kitchen for the office bathroom.

Here is the store front door with a salvaged wood shutter.


We had to open up the wall and add stair and a doors to access the bathroom.
We also added a pocket door to close off the kitchen to the bathroom during working hours.


This was taken during framing and after demo.


Here is the inside of the garage. The walls and ceiling were old lathe which is always super dusty while we are tearing it out.


Here is the original front of the garage.


Read more...

  © Free Blogger Templates Blogger Theme II by Ourblogtemplates.com 2008

Back to TOP