
Cabin Tile
A year or so ago I finished a basement in a cabin down in Marion, NC. This week I went back to put tile down in the basement bathroom. Here is the slab floor in the 3/4 bathroom.
Below is the finished product.
A year or so ago I finished a basement in a cabin down in Marion, NC. This week I went back to put tile down in the basement bathroom. Here is the slab floor in the 3/4 bathroom.
Below is the finished product.
This was a weatherization project where the homeowners had an energy audit completed. After they received their audit report, they contacted me to come in and complete the scope of work. Besides the areas that were uninsulated, they also had some structural concerns and needed a bath fan installed.
The floor joist were up to code, but maxed out on the span . Someone had put a girder in the crawlspace. Unfortunately the girder was not put on any sort of a footer.
We went in and put 6x6's on a concrete footer and added 3 more girders.
We put down a 10 mil plastic vapor barrier in the crawlspace as well as mastic the duct work and insulate the floor.
Before the floor insulation went in, I had the entire band insulated with 1 inch rigid foam board. This allows band to be insulated and air sealed before the batt insulation is installed. Typically, batt insulation is stuffed into the band and does not perform properly.
Here is a 16 foot section of privacy fence we installed on the property line.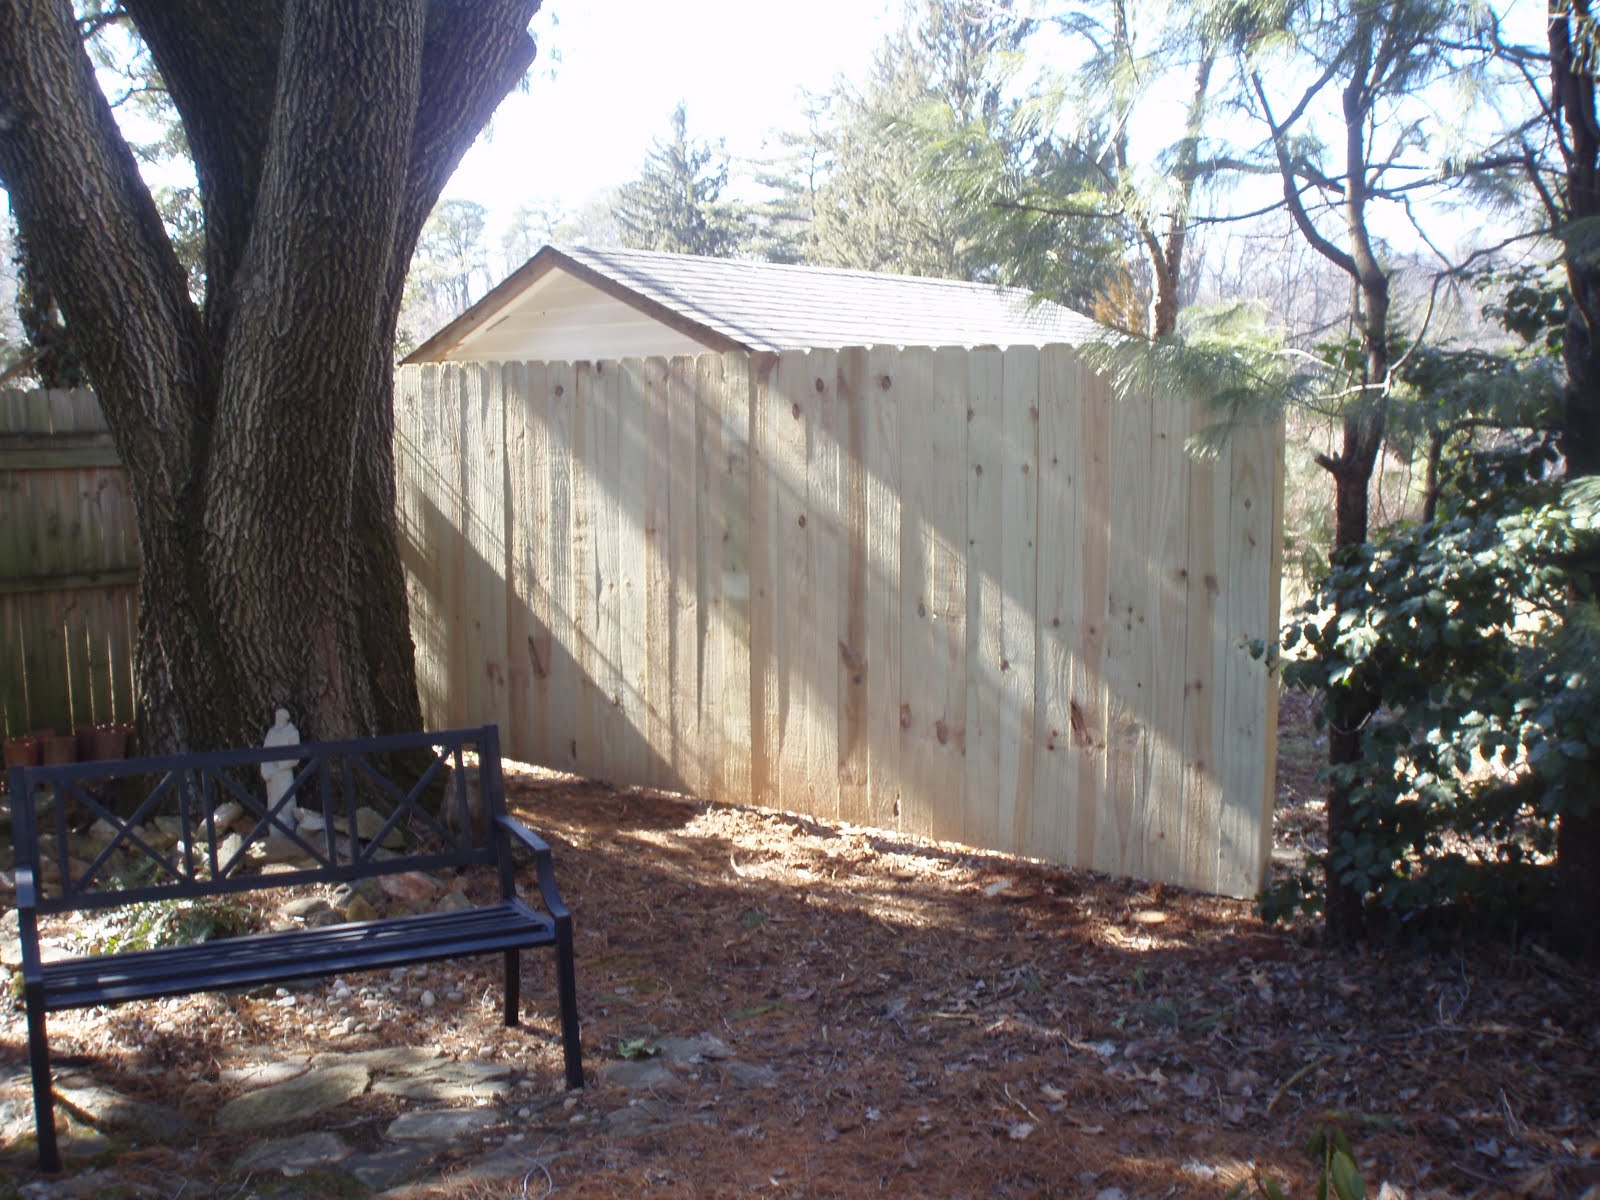
Here is the attic kneewall. It is typical for this to have sheetrock on the finished side, but no air barrier on the attic side.
 We put 3/4 inch foam boards on the attic side. This adds an R3 but more importantly it prevents air from moving through the insulation.

 Here we foam and seal the foundation vents to make this a fully sealed crawlspace.
 Attic hatches are typically uninsulated and very leaky. In the winter the homeowner could feel cold air falling out of the attic here. The pull down stairs made this tricky, so I built a rigid foam hatch at the top of the stairs.
 Can lights are extremely leaky. Some houses can have up to 30 cans in the ceiling. Here we pull down the trim, silicon around the fixture, then seal the trim to the ceiling.
 Another typical problem are attic knee walls. Anytime you have fiberglass insulation with no backing, the insulation cannot perform properly. The inside of the room has sheetrock backing, but the cold air in the attic washes right through this insulation. One fix is to use a reflective bubble wrap to back the insulation.
 Here we used one inch rigid foam for additional R-value. After the boards are installed, we foam all the seams and gaps.
 Here are some tile finish details. Not our work, but nice nonetheless.
 Master shower above.
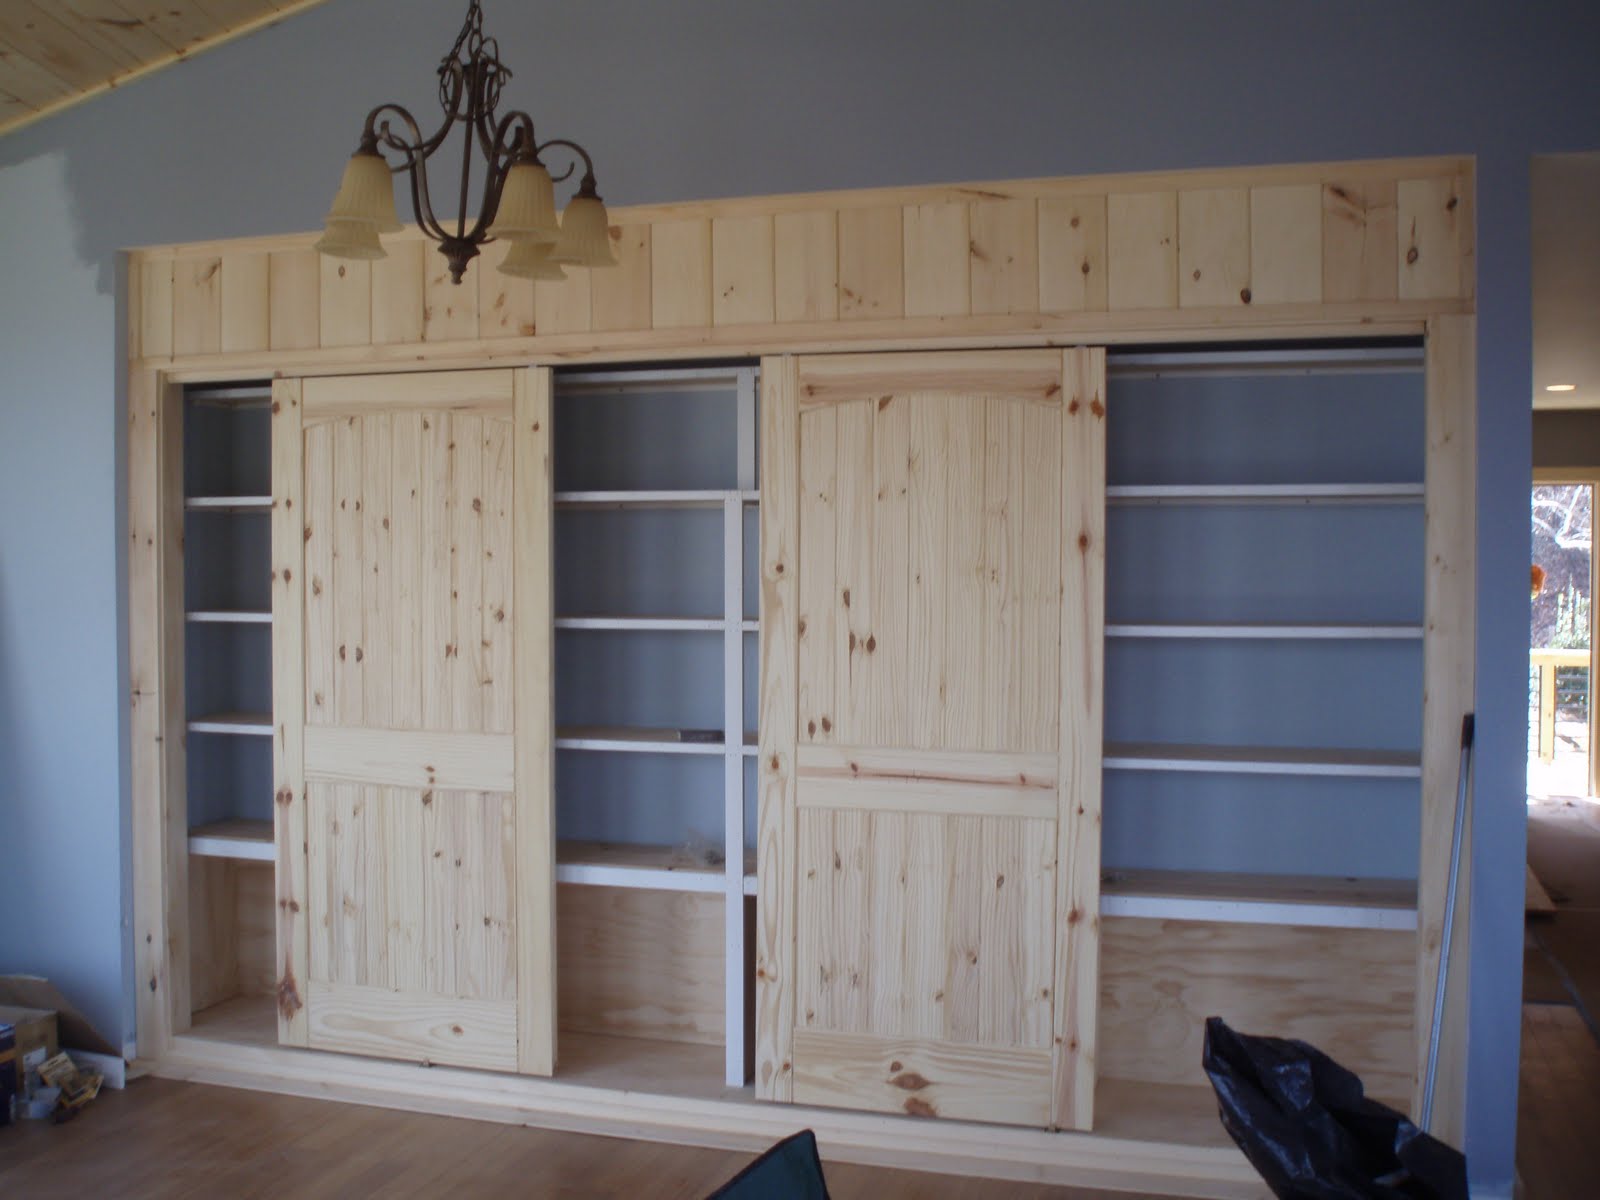
 Here is a custom built-in storage unit. This has four doors to allow for total privacy.
 Here is a shot of the fireplace. The tile guy also did the stone work.
 Here is a side view of my black walnut mantle.
 Rough sawn black walnut before it was milled and planed.
 Cork flooring in the kitchen. The rest of the house was bamboo.
 A view of the kitchen from over by the fireplace
 This is the view from the kitchen sliding door. Nice spot for morning coffee!
 Tongue and Groove ceiling in the vaulted half of the house.
 Kitchen area during cabinet installation.
 Kitchen area after insulation.
 This is the view of the back of the house from the yard.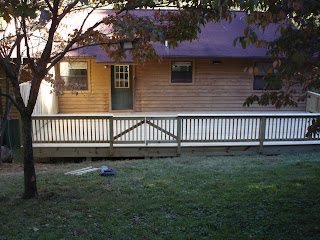
 A view of the custom gate and railing looking out onto the back yard.


After the Castel's moved into the house, Dave realized that the custom butcher block island did not have enough elbow room. We decided to build a new larger top with metal brackets. I put the first butcher block top on his desk and moved his custom cherry desk top to the laundry room as a clothes folding table.
After the Castel's moved into the house, Dave realized that the custom butcher block island did not have enough elbow room. We decided to build a new larger top with metal brackets. I put the first butcher block top on his desk and moved his custom cherry desk top to the laundry room as a clothes folding table.
 Local wormy maple with a cherry inlay. Just over 2" thick.
 © Free Blogger Templates Blogger Theme II by Ourblogtemplates.com 2008
Back to TOP
