Weatherization Project
Although we started doing weatherization projects last winter, this job allowed me the proper time to take pictures of what is typically done. For the most part it is all about sealing penetrations that let heat out or cool air in.
Here is a sealed crawlspace. It has 10 millimeter plastic laid down over the dirt in the crawlspace. The plastic is run up the walls and mastic seals it to the block. We wrapped the columns as well and notice we sealed all the duct work in the crawl. The leaky duct work can pull dust and mold from a typical crawlspace into the house. Not here though.
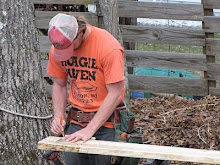
 Attic hatches are typically uninsulated and very leaky. In the winter the homeowner could feel cold air falling out of the attic here. The pull down stairs made this tricky, so I built a rigid foam hatch at the top of the stairs.
 Can lights are extremely leaky. Some houses can have up to 30 cans in the ceiling. Here we pull down the trim, silicon around the fixture, then seal the trim to the ceiling.
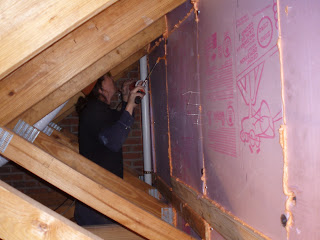
 Another typical problem are attic knee walls. Anytime you have fiberglass insulation with no backing, the insulation cannot perform properly. The inside of the room has sheetrock backing, but the cold air in the attic washes right through this insulation. One fix is to use a reflective bubble wrap to back the insulation.

 Here we used one inch rigid foam for additional R-value. After the boards are installed, we foam all the seams and gaps.
0 comments:
Post a Comment