Thursday, February 9, 2012

Incapsulated Crawl Spaces

This is one of my favorite projects. It involved 2 non profit groups that I highly respect. This 6 home neighborhood is being built by Mountain Housing Opportunities. They are a non profit helping people live in affordable and energy efficient homes. Much like Habitat for Humanity, the owners are responsible for the labor to construct their homes.
To seal the crawl spaces on these homes we partnered with Green Opportunities. "GO" helps train inner city youths in weatherization and other basic green collar jobs. Please check out both groups websites to learn more.
www.mtnhousing.org
www.greenopportunities.org


Typical sealed crawl. Reinforced plastic on the walls and the ground. These units will all have dehumidifiers.


Read more...

Custom Shed

We built this custom shed for some folks who had some weatherization work done last year. They sent a picture they liked online and we did our best to match it. It has 2 salvaged windows, a salvaged door and a galvanized aluminum roof.


Here is a side view.


Read more...

Condo

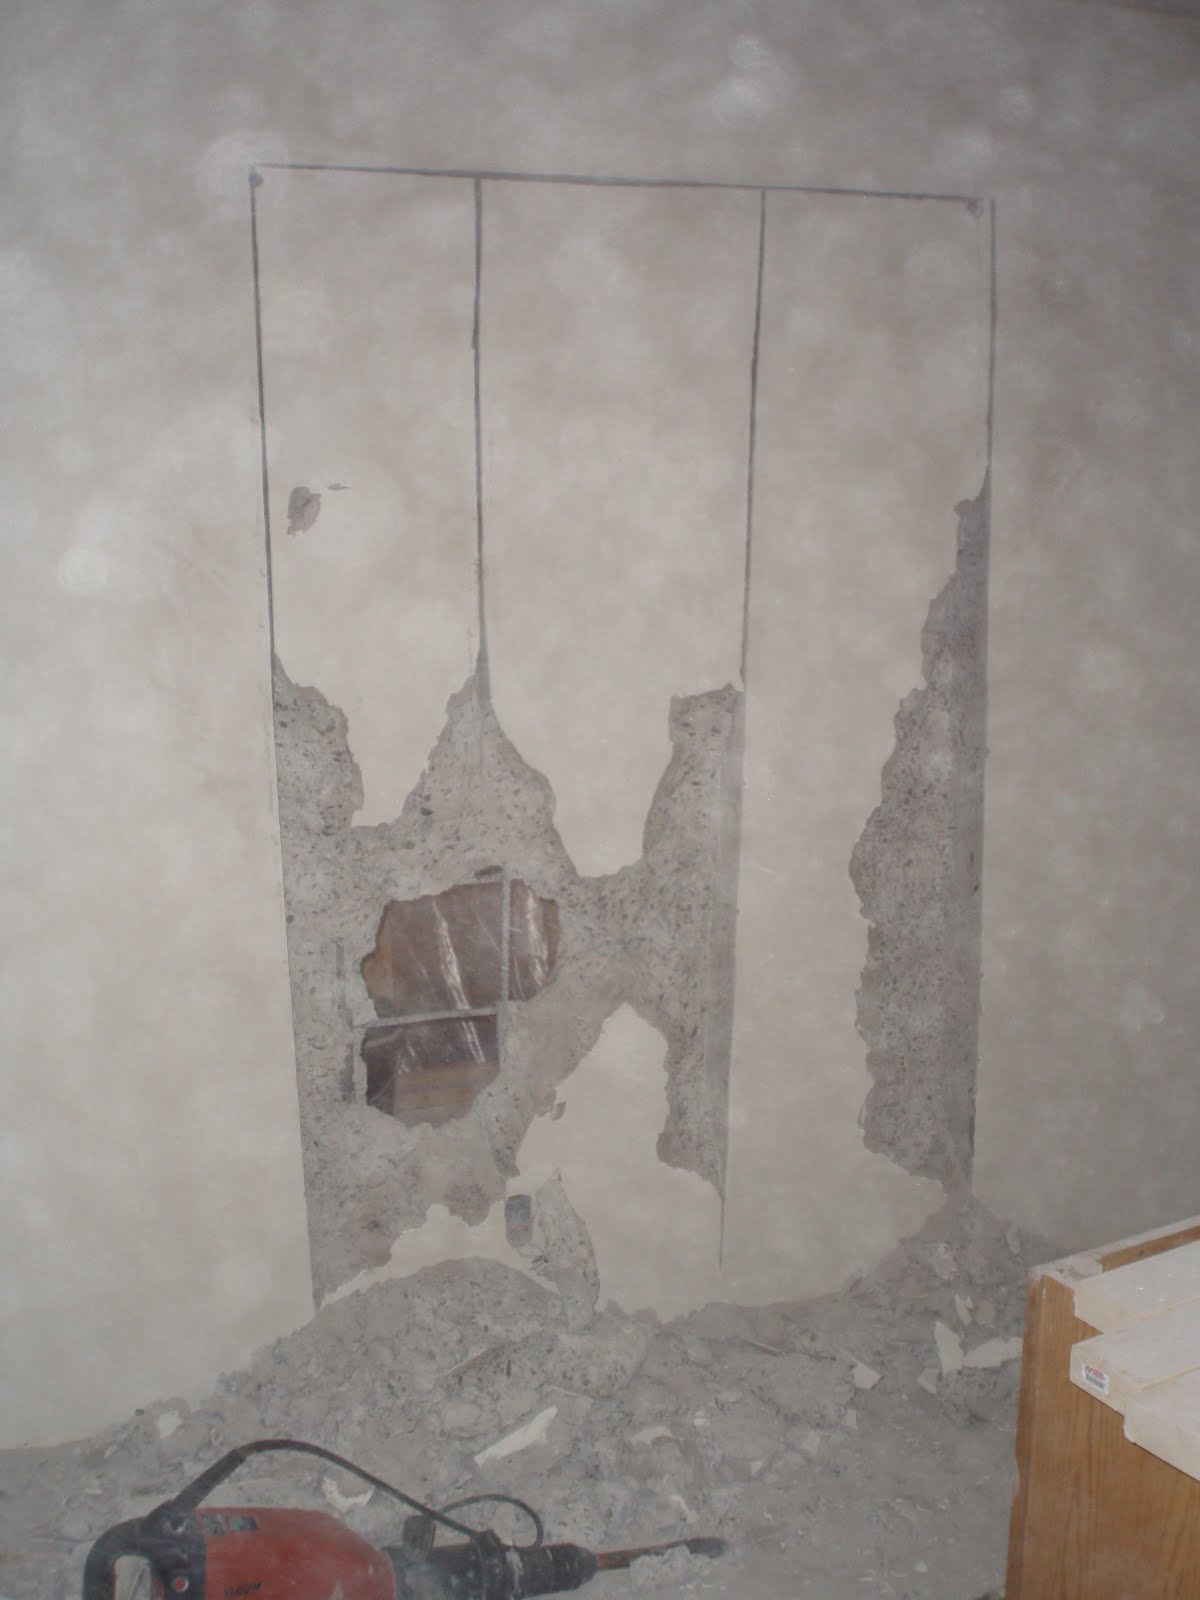
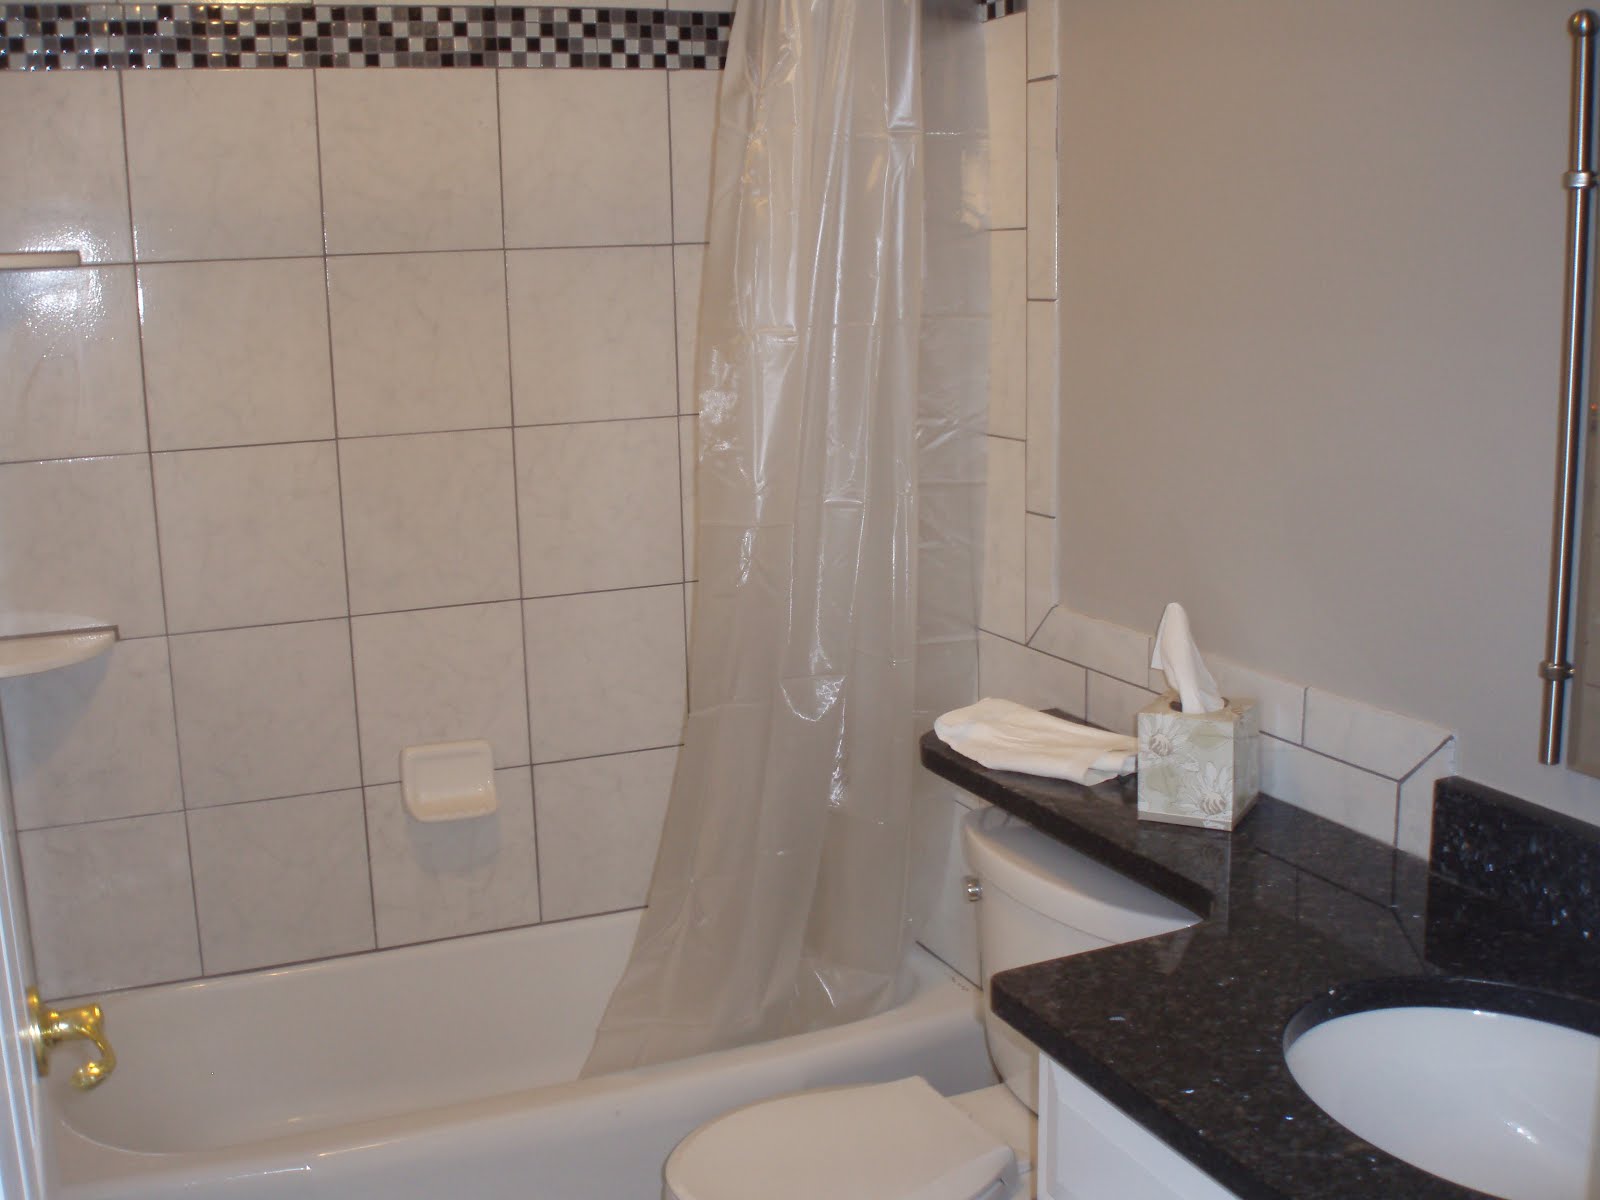
This condo had been an outdated efficiency. The homeowner bought the unit to connect it to her current unit next door. We had to cut through an 8 inch solid concrete wall to add a door to connect the 2 units. The homeowner did a great job choosing the finishes on this job. We added storage, renovated the bathroom and installed cork floors in the entire unit.

Here is our tile work in the bathroom.


The granite color matched the tile accent very well. The banjo counter top detail over the toilet is also a nice touch.


This is the original bathroom. It had wallpaper, old tile, a sliding shower door and a clam shell sink.


Here is the finished new dining room.


The original dining space was an old closet and the entrance door to the unit.


Here is the engineered opening connecting the 2 units.


Breaking through the wall was some loud and dusty work.


Read more...

Lance Deltec

This is a Deltec Home built by Deltec Building Company, Inc. As subcontractors, we unloaded the panels, erected the wall panels, set the roof system, installed miscellaneous siding and framed the deck. This house will be ready to move into only four months after the house panel delivery.


The interior walls in vaulted rooms are always framed much different than a typical square house.


Here is the back deck during framing.


This is after we were dried in and ready for siding.


Read more...

Sunday, October 30, 2011

Bathroom Tile

Carpet in a bathroom is never a great idea. The upstairs in this house had 2 bathrooms with carpet. We pulled the carpet and put down tile floors.

This bathroom had pink shag carpet. The rest of the fixtures are black, so I figured doing a retro black and white tile would give it a stylish look. Now we need to have the sink and tub surround switched to white.


The other bathroom is more neutral. We pulled the grey carpet and put down basic ceramic tile.


Read more...

Friday, October 28, 2011

Custom Interior French Door

This house had a cased opening where a remodel had taken place. The homeowners have salvaged french doors they need to strip and refinish. In the meantime, they wanted it prepared to hang the doors. They ran some LED lighting around the opening for the stained glass. When the lights are on, it lights up the blue rectangular glass and the green diamonds on top.


Here is the opening before I framed in for the french doors and set and trimmed out the glass.


Read more...

Foundation Repair


This project was a foundation repair. The house was built about 100 years ago and the foundation was dry stack stone. At some point a concrete wall was built, but it was not done well and did not tie the rock foundation to the concrete.

Below is a view of the finished product. We poured a solid 2 foot wide with 1 foot of wall above grade.

Here is a view of the finished framing on the inside of the basement. The poured wall took about 115 bags of concrete. Since we poured in sections, we mixed all the concrete by hand. This saved needing multiple concrete trucks and a pump on multiple days. Hand mixing saved about $400.


Above is a view of the exterior wall removed and temporary bracing. We did two separate pours to be able to brace half of the wall at a time.

Above is the rebar cage we built. The engineer had a dowel epoxied into the existing rock. The cage then tied the old foundation to the new poured wall.


Here is a view of the crumbled old foundation with the exterior wall removed.

Before we started the framing was rotting because it was at grade and the the foundation was falling apart.

Read more...

  © Free Blogger Templates Blogger Theme II by Ourblogtemplates.com 2008

Back to TOP